How to Compile, Configure, Build and Install New Linux Kernel from Scratch
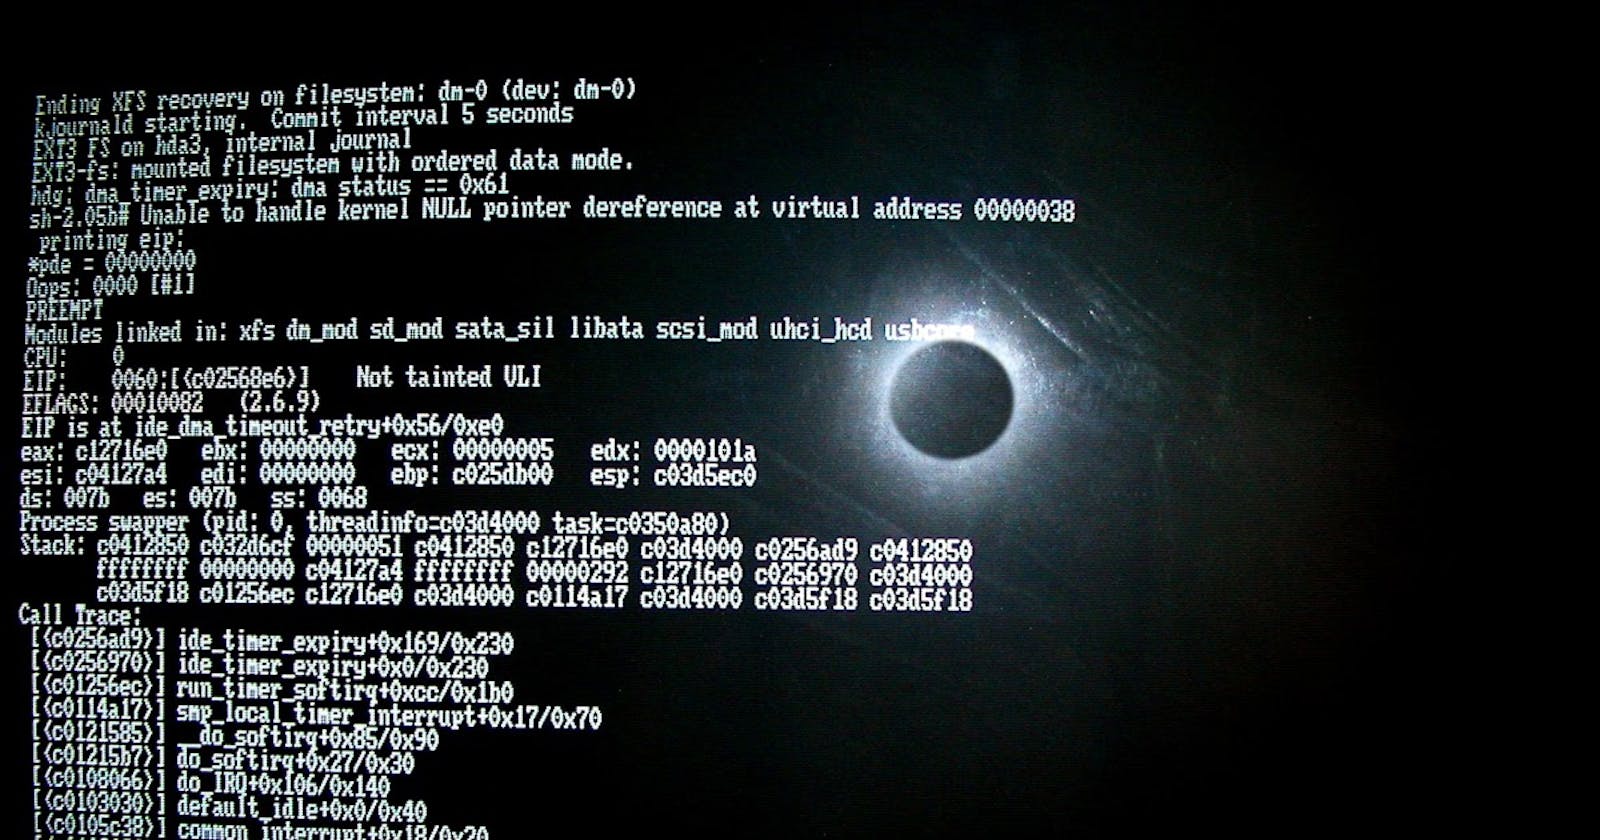
![[Image: Linux_kernel_panic-v2.jpg]](https://cdn.hashnode.com/res/hashnode/image/upload/v1667401025309/ZQWd7EBhgV.jpeg?auto=compress,format&format=webp)
1. Download the latest kernel from kernel.org
Code:
wget http://www.kernel.org/pub/linux/kernel/v2.4/linux-2.4.19.tar.gz tar zxvf linux-2.4.19.tar.gz cd linux-2.4.19
2. Configure the kernel options
This is where you select all the features you want to compile into the kernel (e.g. SCSI support, sound support, networking, etc.)
Code:
make menuconfig
There are different ways to configure what you want compiled into the kernel; if you have an existing configuration from an older kernel, copy the old .config file to the top level of your source and use make oldconfig instead of menuconfig. This oldconfig process will carry over your previous settings, and prompt you if there are new features not covered by your earlier .config file. This is the best way to 'upgrade' your kernel, especially among relatively close version numbers. Another possibility is make xconfig for a graphical version of menuconfig, if you are running X.
3. Make dependencies
After saving your configuration above (it is stored in the ".config" file) you have to build the dependencies for your chosen configuration. This takes about 5 minutes on a 500 MHz system.
Code:
make dep
4. Make the kernel
You can now compile the actual kernel. This can take about 15 minutes to complete on a 500 MHz system.
Code:
make bzImage
The resulting kernel file is "arch/i386/boot/bzImage"
5. Make the modules
Modules are parts of the kernel that are loaded on the fly, as they are needed. They are stored in individual files (e.g. ext3.o). The more modules you have, the longer this will take to compile:
Code:
make modules
6. Install the modules
This will copy all the modules to a new directory, "/lib/modules/a.b.c" where a.b.c is the kernel version
Code:
make modules_install
* In case you want to re-compile...
If you want to re-configure the kernel from scratch and re-compile it, you must also issue a couple "make" commands that clean intermediate files. Note that "make mrproper" deletes your .config file. The complete process is:
Code:
make mrproper make menuconfig make dep make clean make bzImage make modules make modules_install
* Installing and booting the new kernel
For the remainder of this discussion, I will assume that you have LILO installed on your boot sector. Throughout this process, always have a working bootable recovery floppy disk, and make backups of any files you modify or replace. A good trick is to name all new files with -a.b.c (kernel version suffix) instead of overwriting files with the same name, although this is not shown in the example that follows.
On most Linux systems, the kernels are stored in the /boot directory. Copy your new kernel to that location and give it a unique name.
Code:
cp arch/i386/boot/bzImage /boot/vmlinuz-2.4.19
There is also a file called "System.map" that must be copied to the same boot directory.
Code:
cp System.map /boot
Now you are ready to tell LILO about your new kernel. Edit "/etc/lilo.conf" as per your specific needs. Typically, your new entry in the .conf file will look like this:
Code:
image = /boot/vmlinuz-2.4.19 label = "Linux 2.4.19"
Make sure the image points to your new kernel. It is recommended you keep your previous kernel in the file; this way, if the new kernel fails to boot you can still select the old kernel from the lilo prompt.
Tell lilo to read the changes and modify your boot sector:
Code:
lilo -v
Read the output carefully to make sure the kernel files have been found and the changes have been made. You can now reboot.
Summary of important files created during kernel build:
Code:
.config (kernel configuration options, for future reference) arch/i386/boot/bzImage (actual kernel, copy to /boot/vmlinuz-a.b.c) System.map (map file, copy to /boot/System.map) /lib/modules/a.b.c (kernel modules)
